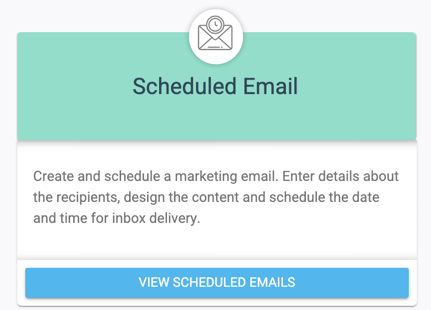
Scheduled Emails can be set up and then sent to the customers you choose at a specific time. These can be great to notify your customers of upcoming events, promote items, or just to share general company news. You’ll select who will be receiving this message, whether it be all customers or only those in a specific segment.
1
Finding the Scheduled Email Capability
Look for the Communications icon in the left-hand navigation and click on it. Next, click the Scheduled Email link under the horizontal menu. Look for the Create a Scheduled Email button and click it.
2
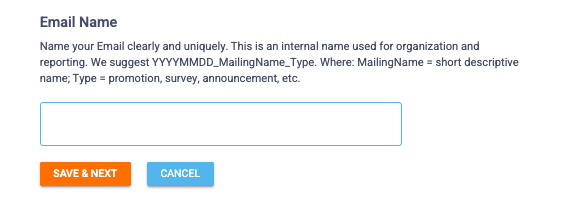
Determine Email Name for Internal Use
This is just for internal use- your customers won’t see this!
You may try naming it something like “Security Update Notification for Customer Profile”, or “Birthday Notification for Customers- Sent 3 Weeks Prior”. The more specific you are, the easier it will be for you to look back and remember the purpose of this email.
3
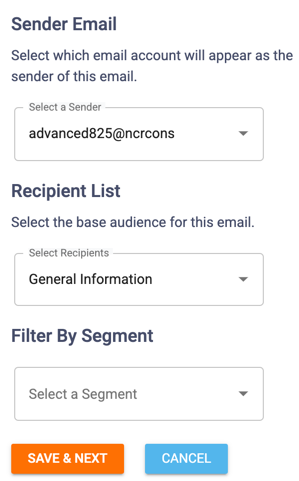
Select Sender & Recipients
Select Sender: If you have multiple senders, you can select which one you’ll want to use here. This is who the guests will see the email is from, such as “Barista Joe”, “Becky’s Brunch Cafe” or “Management at le Fanci Restaurante”. If you created multiple senders, decide which one makes the most sense for your brand.
Email Recipients: Select who this email should go to. Should it go to all of your guests, or just those in a select segment?
4
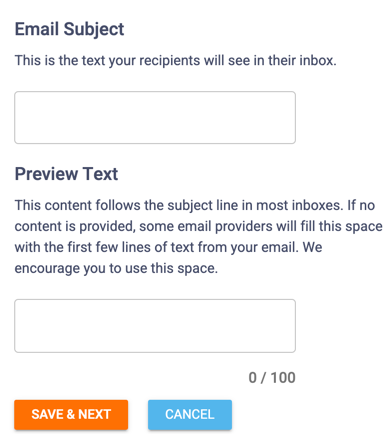
Enter Subject & Preview Text
This is what your guests will see for their email subject line and preview text, so you’ll probably want to think of what to put here from a marketing perspective!
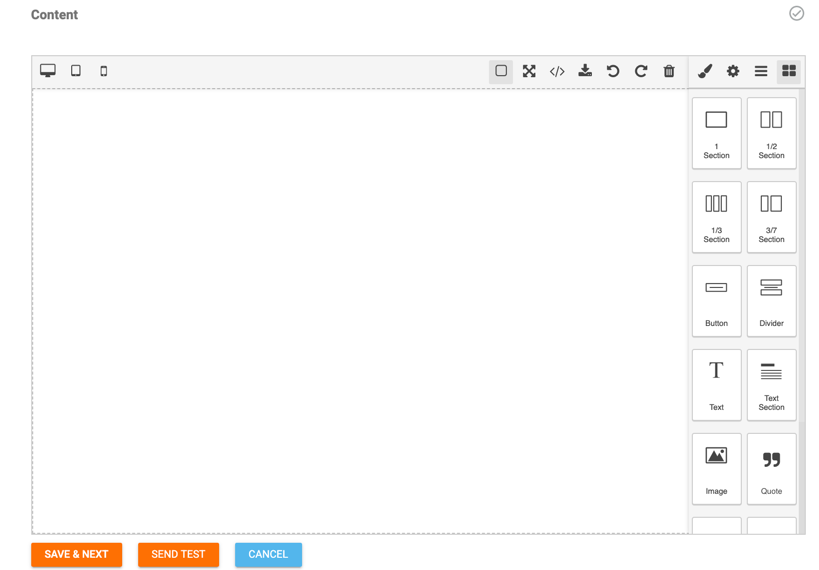
Add AI Generated Content (Optional)
You’ll have the option to add AI Generated Content to your email. To do this, you can click the Generate Content button above the email body. To learn more about how to use this tool, you can consult the article here.
7
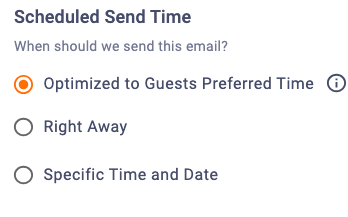
Determine Email Send Time
You can choose to send it right away, at a specific date and time in the future, or optimized to the customer’s preferred send time.
Note: Using the Optimized option will send the email at each customer’s preferred time of day, determined by their engagement data. To compare engagement, you can set an approximate percentage of optimized customers (control group) to receive their email at the Default Time. This time will also be used for customers with no optimized time or those who have not received any emails.