The Post Purchase NPS Survey Campaign lets you send a net promoter score survey after a customer makes a purchase. You can even include a reward for completing the survey to incentivize customers to respond.
This campaign is only available to brands who utilize the Clutch Campaign Catalog.
Pro-Tip: You’ll need to have campaign communications created to finalize the campaign. The amount needed will depend on how you configure your campaign.
We recommend you create your Campaign Emails and/or Campaign Mobile Messages ahead of time.
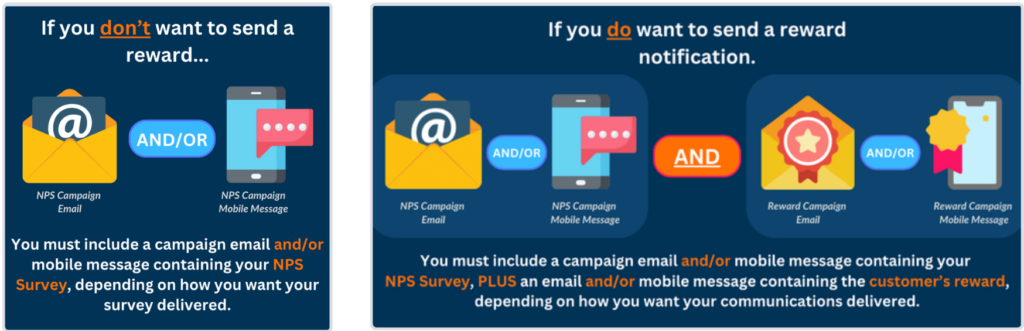
1. You must have a campaign communication(s) that include your NPS Survey to send to customers. If you intend to send a campaign email, consider using our Post Purchase NPS Survey Template to save time. You can send an email, mobile message, either (depending on customer’s preference), or both.
2. If you want to provide your customer a reward notification for when the complete this survey, you’ll need a communication for that as well. You can send an email, mobile message, either (depending on customer’s preference), or both.
If you want to create custom communications that contain your NPS Survey, you can include merge variables that link to your survey. Use the merge variable {{surveyLink}} in emails and {{mobileSurveyLink}} in mobile messages.
If you want to create custom communications that contain your NPS Survey, you can include merge variables that link to your survey. Use the merge variable {{surveyLink}} in emails and {{mobileSurveyLink}} in mobile messages.
Creating a Post Purchase NPS Survey Campaign
Step 1: Find the Post Purchase NPS Survey Campaign Tile
Click the Campaigns tile on the left navigation bar. Then, navigate to the Campaign Catalog. Depending on your package, you’ll need to click on the Campaign Catalog tab or View Templates on the Campaign Management page to navigate to the Campaign Catalog.
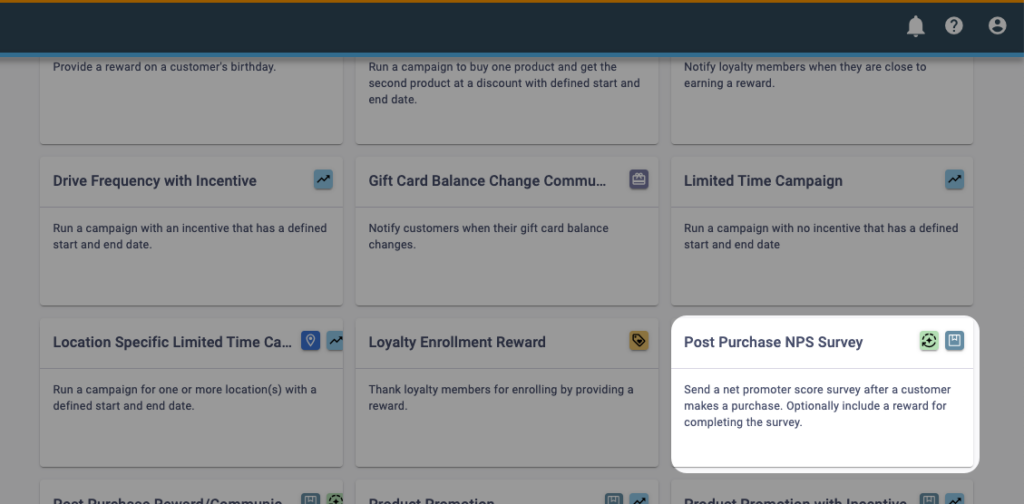
Search the Campaign Catalog and locate the tile labeled Post Purchase NPS Survey. Click on it to begin creating your campaign.
If you don’t see the campaign catalog, your brand may use the Campaign Builder Tool instead.
Step 2: Build Your Campaign
This campaign has a lot of steps, but don’t be intimidated!
You’ll need to do the following. Note that some of these may be optional depending on how your campaign will be set up.
| Campaign Name | Name your campaign clearly. You can create more than one version of this campaign so be sure to add a distinguishable element to this name. Anyone should be able to read the name and quickly understand its purpose. |
| Program | If customers need to be enrolled in a program to be eligible for this campaign, select below. If all customers are eligible, select All Customers. |
| Segment | If customers need to belong to a specific segment to be eligible for this campaign, select the segment below. If no segments should be applied, select No Segment. |
| Purchase Requirement | Enter the minimum value required to make the purchase eligible for getting a survey. |
| Survey Duration | How long the customer has to complete the survey after receiving the link. This can be determined by days, weeks, or months. |
| Optionally Set Limits | Would you like to limit the number of times this campaign can apply to each customer? Consider the number of communications a customer may find intrusive. If the campaign contains a discount or reward, consider the financial implications of unlimited occurrences.If you would like to set limits, you can set it by per day, per week, per month, per year, or ever. |
| Reward Type | If you would like the customer to reccieve a reward for completing the survey, you can configure this here. Reward types will be broken down further into this document. |
| Communication with Link to Survey | Select communication with link to survey. Be sure the communication you select has a link to your NPS Survey within it. |
| Schedule Multi-Channel Notification | Select the method of delivery for your notification. Delivery options will be broken down further into this document. |
Once you configure all elements of this campaign you can save it as a draft or Save and Publish it.

Reward Types
| Points | This allows you to determine the number of points your customer will be rewarded.You can also determined if you want the reward to expire. If you do choose to have it expire, you can set a rolling date by days, weeks, or months after the point of issuance. |
| Cash Back | This allows you to determine the amount of cash back your customer will be rewarded.You can also determined if you want the reward to expire. If you do choose to have it expire, you can set a rolling date by days, weeks, or months after the point of issuance. |
| Free Product | This allows you to determine what free product/s your customer will be rewarded with.You’ll need to determine the following:Reward Value If the customer has more than one eligible product in their cart, select which product the reward should apply to. This can be applied to the most or least expensive product.Rewards The product(s) your customers will be rewarded. Reward Redemption Allow your customer to choose when to redeem this reward or automatically apply to the next purchase.POS Message Enter a message to display on the Point of Sale to indicate there is an product available for point redemptionReward Expiration & Expiration Date Determine if you want the reward to expire. If you do choose to have it expire, you can set a rolling date by days, weeks, or months after the point of issuance. |
| Discount Offer | This allows you to determine the type of discount your customer will be rewarded. You can choose from:Order DiscountItem DiscountNew Item PriceBuy One Get OneItem Group DiscountNew Price for Group of ItemsYou will need to configure the campaign based on the discount type you select. You can learn more about discount types here.You can also determined if you want the reward to expire. If you do choose to have it expire, you can set a rolling date by days, weeks, or months after the point of issuance. |
Schedule Multi-Channel Notification
You can select the following options as delivery methods.
| Send Channel Optimization | Selecting this will allow you to send either an email or a mobile message to your guest when this campaign is triggered. What they receive will depend on their preference. If a guest opens emails more than mobile messages, an email will be sent, and vice-versa.You will need to choose both campaign email and campaign mobile message options to be sent.For email, you’ll need to determine an Email Sender and the recipient list you’d like to receive this email.For mobile messages, you’ll need to determine the recipient list.You can learn more about Send Channel Optimization here. |
| Email & Mobile Communication | Selecting this will allow you to send both an email and a mobile message to your guest when this campaign is triggered.For email, you’ll need to determine an Email Sender and the recipient list you’d like to receive this email.For mobile messages, you’ll need to determine the recipient list.You will need to choose both campaign email and campaign mobile message options to be sent. |
| Only Email Communication | Selecting this will allow you to send an email to your guest when this campaign is triggered. You’ll need to determine an Email Sender and the recipient list you’d like to receive this email.You will need to choose a campaign email to be sent. |
| Only Mobile Communication | Selecting this will allow you to send a mobile message to your guest when this campaign is triggered. You’ll need to determine the recipient list.You will need to choose a campaign mobile message to be sent. |