The User Management section of the Next Gen Poral allows you to add users and assign them certain permissions. Follow the steps below in order to add a new user.
Note: To add a user, you will need to be an Account Admin.
1
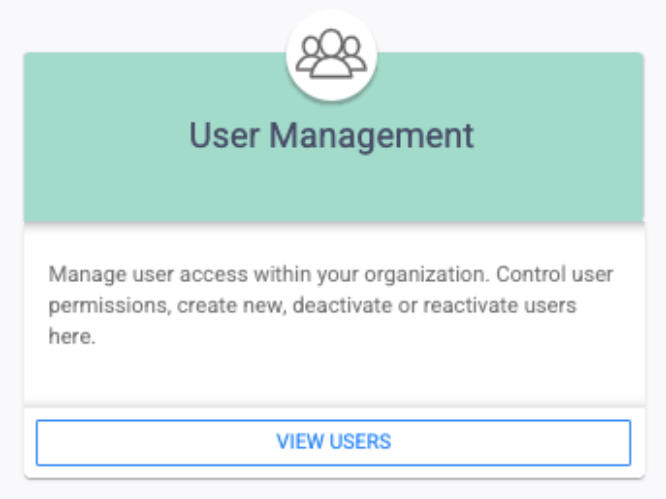
Find the User Management Section
Look for the Admin icon in the left-hand navigation and click on it. Next, select the User Management tile’s View Users button.
2
Navigate to the Add User Button You’ll see a table with all users in your brand listed. On the top right corner above the table, there will be an Add User button. Click this.
3
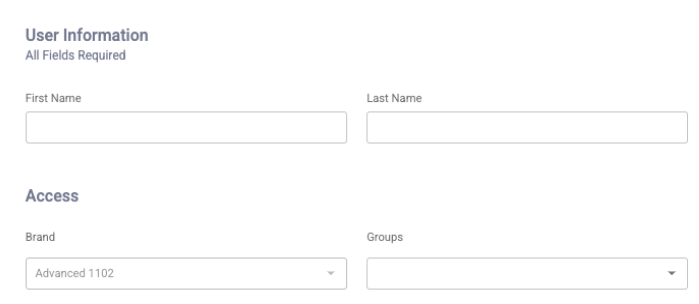
Input User Information
You will need to add user information, including First Name, Last Name, and Email. You may also want to add which groups and locations they have access to.
4
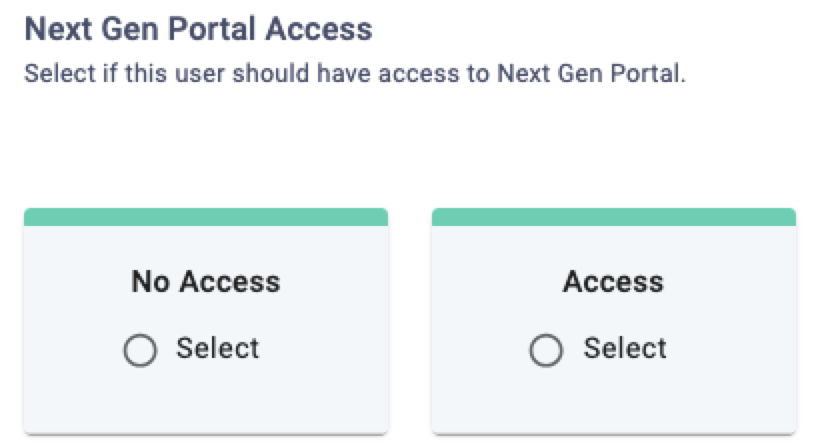
Determine User Access Level
You will be able to select what level of access to give the user for both the Next Gen Portal and Virtual Terminal.
5
Save User Information
Click the Save button. Once the user has been added, an email will be sent to them containing login information and a temporary password.