


Essential Portal makes sending Scheduled Mobile Messages easy, whether it be an SMS or MMS Message.
Scheduled Messages can be set up and then sent to the customers you choose at a specific time. These can be great to notify your customers of upcoming events, promote items, or just to share general company news. You’ll select who will be receiving this message, whether it be all customers or only those in a specific segment.
You can send Scheduled Messages as either SMS or MMS Messages.
SMS stands for Short Message Service and is essentially a standard text message. SMS messages cannot include multimedia content, such as images or videos.
MMS stands for Multimedia Messaging Service. This allows SMS users to send multimedia content, such as images or videos. Some users may not be able to view an MMS message on their devices. Because of this, if you send an MMS message, we require you to include a fallback SMS message with it.
We’ll walk through the creation of both Scheduled SMS and MMS Messages in this article.
1
Finding the Scheduled Mobile Message Capability
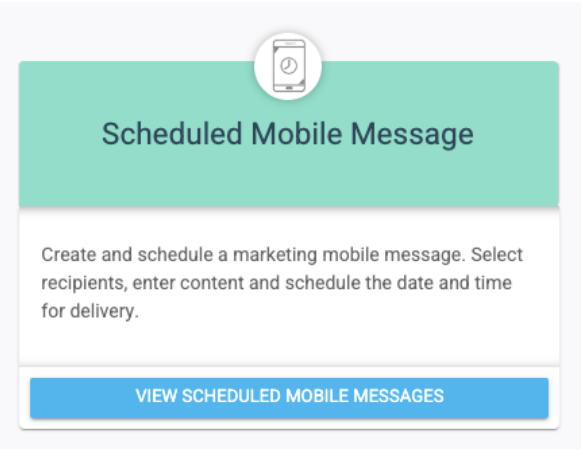
Look for the Communications icon in the left-hand navigation and click on it. Next, click the View Scheduled Mobile Messages button under the horizontal menu. Then, look for the Create a Scheduled Mobile Message button and click it.
2
Name Your Message and Select Short Mobile Message (SMS)
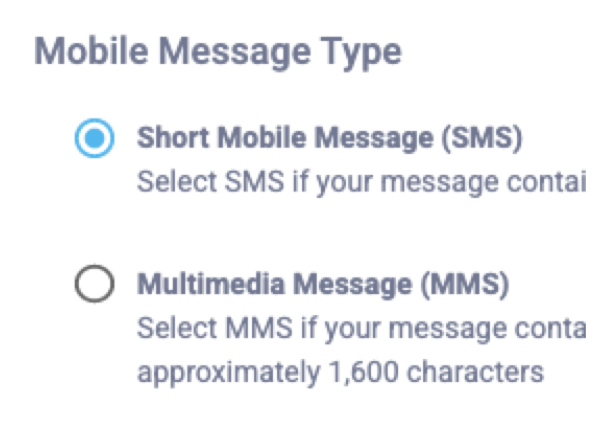
Create a unique name for your message that will be used internally. Then, select the message type you’d like to create. In this case, it will be an SMS message.
3
Compose your Mobile Message
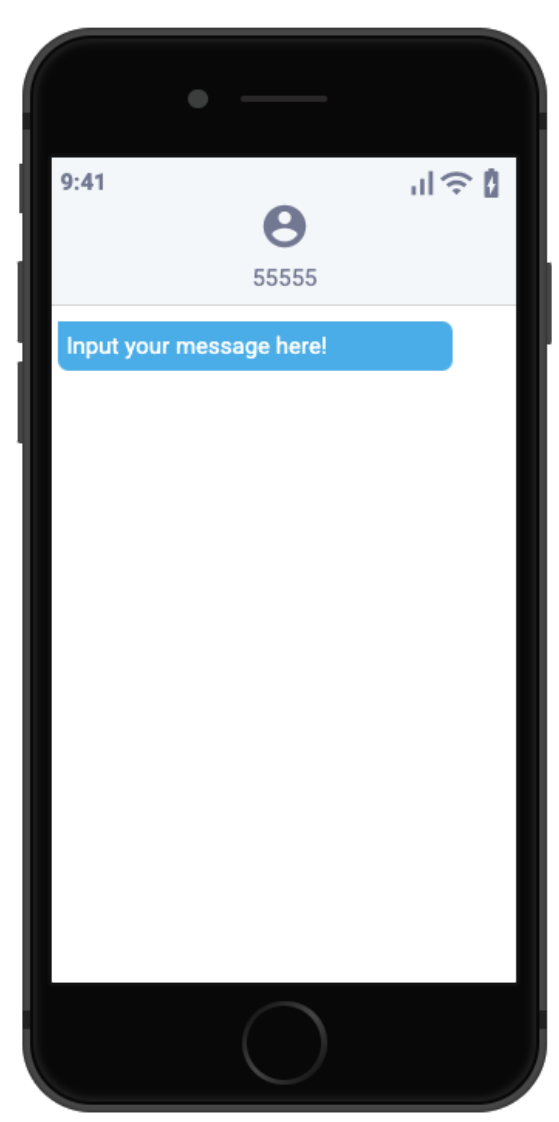
Type the content of your message (do not exceed 160 characters, or 70 characters if the characters are non-standard). Your text will appear to the right in the prototype phone. You’ll also have the option to configure a shortened link.
4
Select Recipients
Select the Mobile Program list you would like to send the message to. If desired, you can also select the segment you’d wish to send this message to instead of the whole list.
5
Determine Send Time
You’ll be able to select from 4 send time options.
Optimized to Preferred Time: The user will receive the mobile message during a time they’re more likely to check their text messages. Note that mobile messages can only be scheduled for 8 AM to 8 PM in a recipient’s respective timezone. Any message scheduled for a conflicting time will not be sent to that individual recipient. Messages start processing at the selected time, and delivery time may vary based on processing volumes and take up to an hour to complete.
Send Simultaneously: All messages start processing at the selected time. This must be scheduled for at least 65 minutes in the future.
Send Right Away: All messages will start processing immediately upon submission and will begin sending in approximately one hour.
Send Locally: Messages will start processing at the selected time in the time zone based on the customer’s Zip Code. For customers with an unknown Zip Code, their message will be processed along with the Central Time Zone. This must be scheduled for at least 65 minutes in the future.
6
When Sending, Give it a Final Check
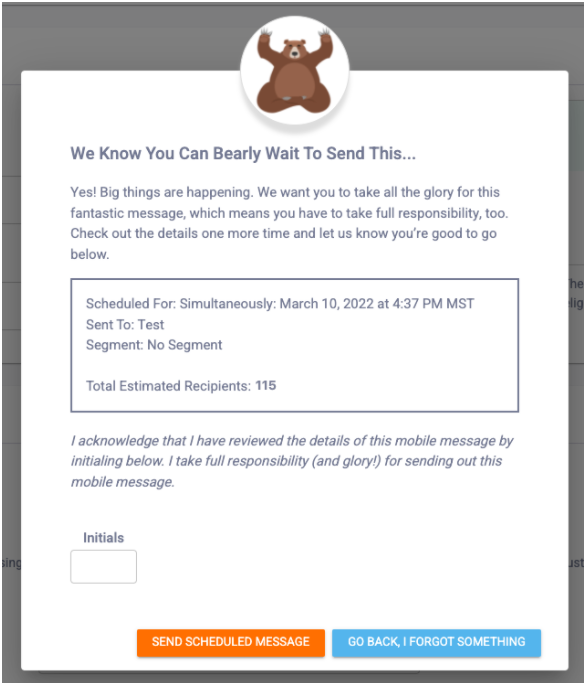
Once you’re ready to send your message, you will be shown a final window that highlights message details to ensure everything’s in order. You will need to provide your initials to continue.
1
Finding the Scheduled Mobile Message Capability
Look for the Communications icon in the left-hand navigation and click on it. Next, click the View Scheduled Mobile Messages button under the horizontal menu. Then, look for the Create a Scheduled Mobile Message button and click it.
2
Name Your Message and Select Multimedia Message (MMS)
Create a unique name for your message that will be used internally. Then, select the message type you’d like to create. In this case, it will be an MMS message.
3
Compose your Mobile Message
Type the content of your message. Your text will appear to the right in the prototype phone. Since this is an MMS message, you’ll also be able to add multimedia, such as images, videos, or GIFs via the Add Multimedia button. From there, you can add files or search your Asset Manager. You’ll also have the option to configure a shortened link.
4
Compose your Fallback SMS
Scroll down and create your Fallback SMS. Because some users may not be able to view an MMS message on their devices, you will need to create a fallback SMS that they can receive instead.
5
Select Recipients
Select the Mobile Program list you would like to send the message to. If desired, you can also select the segment you’d wish to send this message to instead of the whole list.
6
Determine Send Time
You’ll be able to select from 4 send time options.
Optimized to Preferred Time: The user will receive the mobile message during a time they’re more likely to check their text messages. Note that mobile messages can only be scheduled for 8 AM to 8 PM in a recipient’s respective timezone. Any message scheduled for a conflicting time will not be sent to that individual recipient. Messages start processing at the selected time, and delivery time may vary based on processing volumes and take up to an hour to complete.
Send Simultaneously: All messages start processing at the selected time. This must be scheduled for at least 65 minutes in the future.
Send Right Away: All messages will start processing immediately upon submission and will begin sending in approximately one hour.
Send Locally: Messages will start processing at the selected time in the time zone based on the customer’s Zip Code. For customers with an unknown Zip Code, their message will be processed along with the Central Time Zone. This must be scheduled for at least 65 minutes in the future.
7
When Sending, Give it a Final Check
Once you’re ready to send your message, you will be shown a final window that highlights message details to ensure everything’s in order. You will need to provide your initials to continue.