It’s easy to export a segment in the Clutch Next Gen Portal! You can either export a segment quickly that will only contain segment values, or you can take a moment to add additional headers to your exported segment.
Note: If a user does not have access to export PII data or the brand has opted out of letting users export PII then they will only see card numbers on the standard export and will not see any PII columns or custom demographics in the export builder.
Export a Segment with Card Numbers Only
Step 1: Find Your Segment
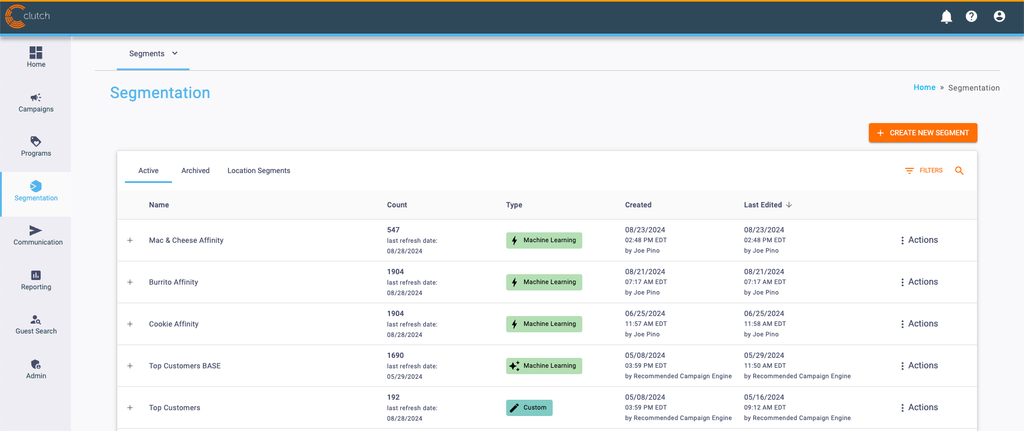
Find the segment you wish to export. You can do this by navigating to the Segmentation section of the Clutch Next Gen Portal. Scroll through the rows or search for your segment by using filters or keywords.
Step 2: Click Export Segment
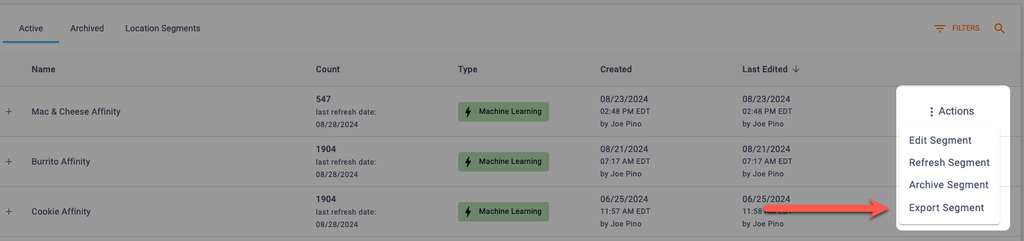
Within the row of the segment you wish to export, click the Actions bar. Then click Export Segment.

Step 3: Select Segment Values Only
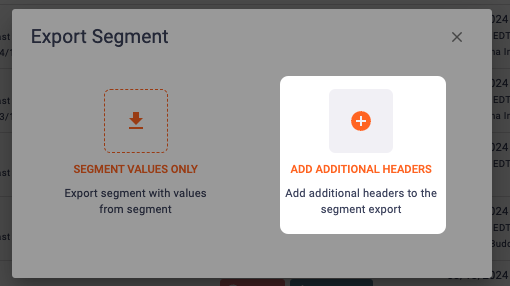
A pop-up will appear. Click Segment Values Only within it to generate an export containing columns for the card numbers and each applied segment filter. (Ex: If you filtered on Activation Date, it would appear as a column.)
If a user does not have access to export PII data or the brand has opted out of letting users export PII, they will see the Card Numbers Only button instead.

Step 4: Download Your Exported Segment
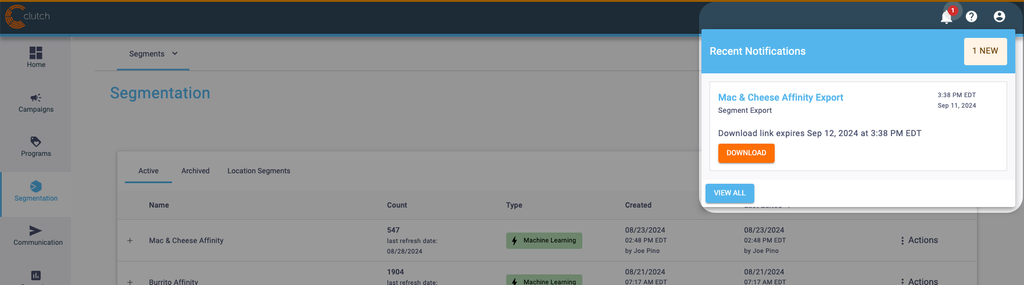
Your export will then be processed. You can check the status and download the segment from the Notifications Center located at the top right of your screen. Once your export is ready, click the Download button to get your file.

Export a Segment with Additional Headers
Step 1: Find Your Segment
Find the segment you wish to export. You can do this by navigating to the Segmentation section of the Clutch Next Gen Portal. Scroll through the rows or search for your segment by using filters or keywords.

Step 2: Click Export Segment
Within the row of the segment you wish to export, click the Actions bar. Then click Export Segment.
Step 3: Select Add Additional Headers
A pop-up will appear. Click Add Additional Headers within it to add additional headers to your export.
Step 4: Add Additional Headers
You can now add additional headers to your segment export by clicking on the + button next to the available columns. You can remove columns by clicking the trashcan icon. Rearrange the order of the columns be using the up and down arrows as needed. You can filter available columns by category.
Once you’ve added all the additional columns you want to and have them ordered to your preference, click the Export .CSV File button.
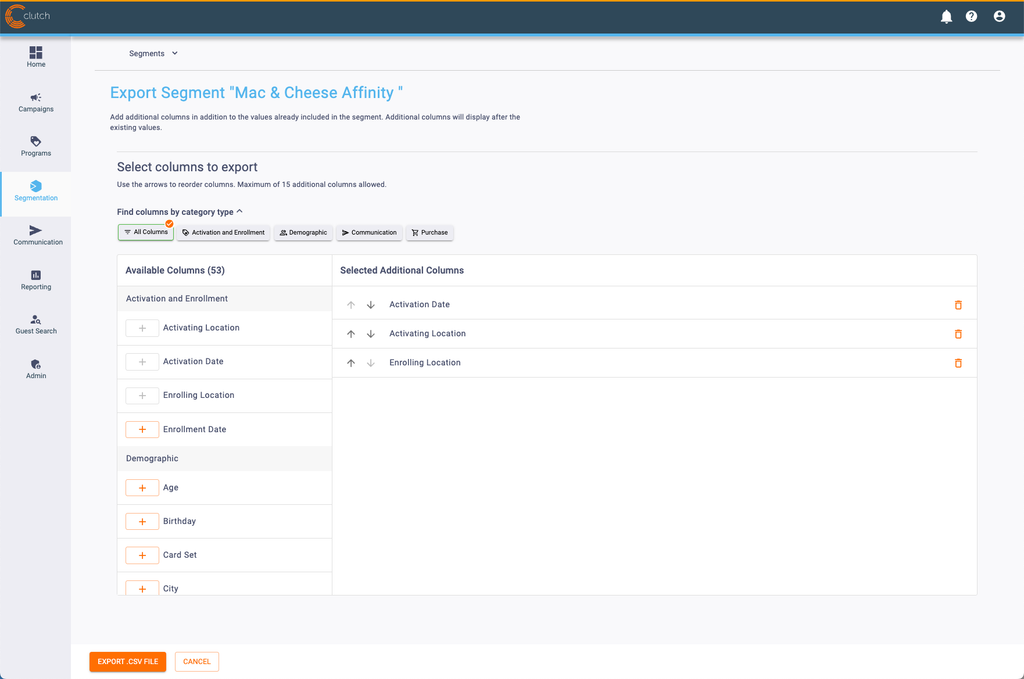
Note: Available columns may vary based on your brand’s configuration. If a user does not have access to export PII data or the brand has opted out of letting users export PII then they will only see card numbers on the standard export and will not see any PII columns or custom demographics in the export builder.
Step 5: Download Your Exported Segment
Your export will then be processed. You can check the status and download the segment from the Notifications Center at your screen’s top right. Once your export is ready, click the Download button to get your file.