The User Management section of the Next Gen Portal allows you to add users and assign them certain permissions. Follow the steps below in order to reactivate a user.
Note: In order to add a user, you will need to be an Account Admin.
1
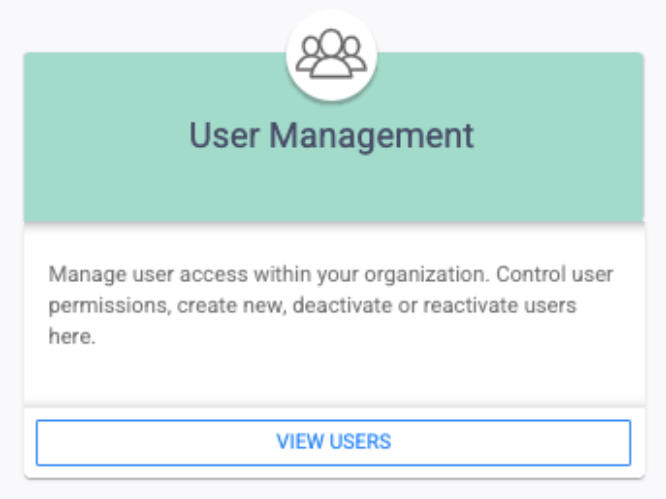
Find the User Management Section
Look for the Admin icon in the left-hand navigation and click on it. Next, select the User Management tile’s View Users button.
2
Find the Desired User You’ll see a table with all users in your brand listed. Find the user you wish to edit and click the Actions bar. You can search by clicking the magnifying glass icon. Then, click Edit.
3
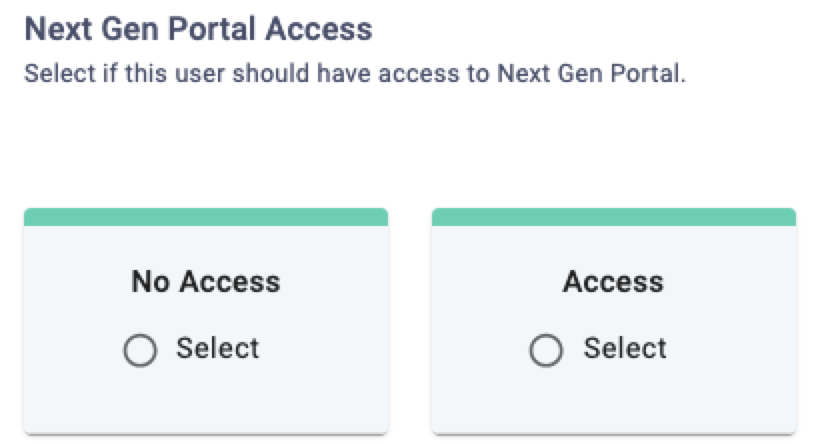
Determine User Access Level
You will be able to select what level of access to give the user for both the Next Gen Portal and Virtual Terminal. To reactivate the user, an access level other than “No Access” must be given.
4
Save User Information
Click the Save button. This will reactivate the user.
5
Confirm User Reactivaiton
Once you save the user information, you will see a green circle symbol next to their name along with their granted access level.